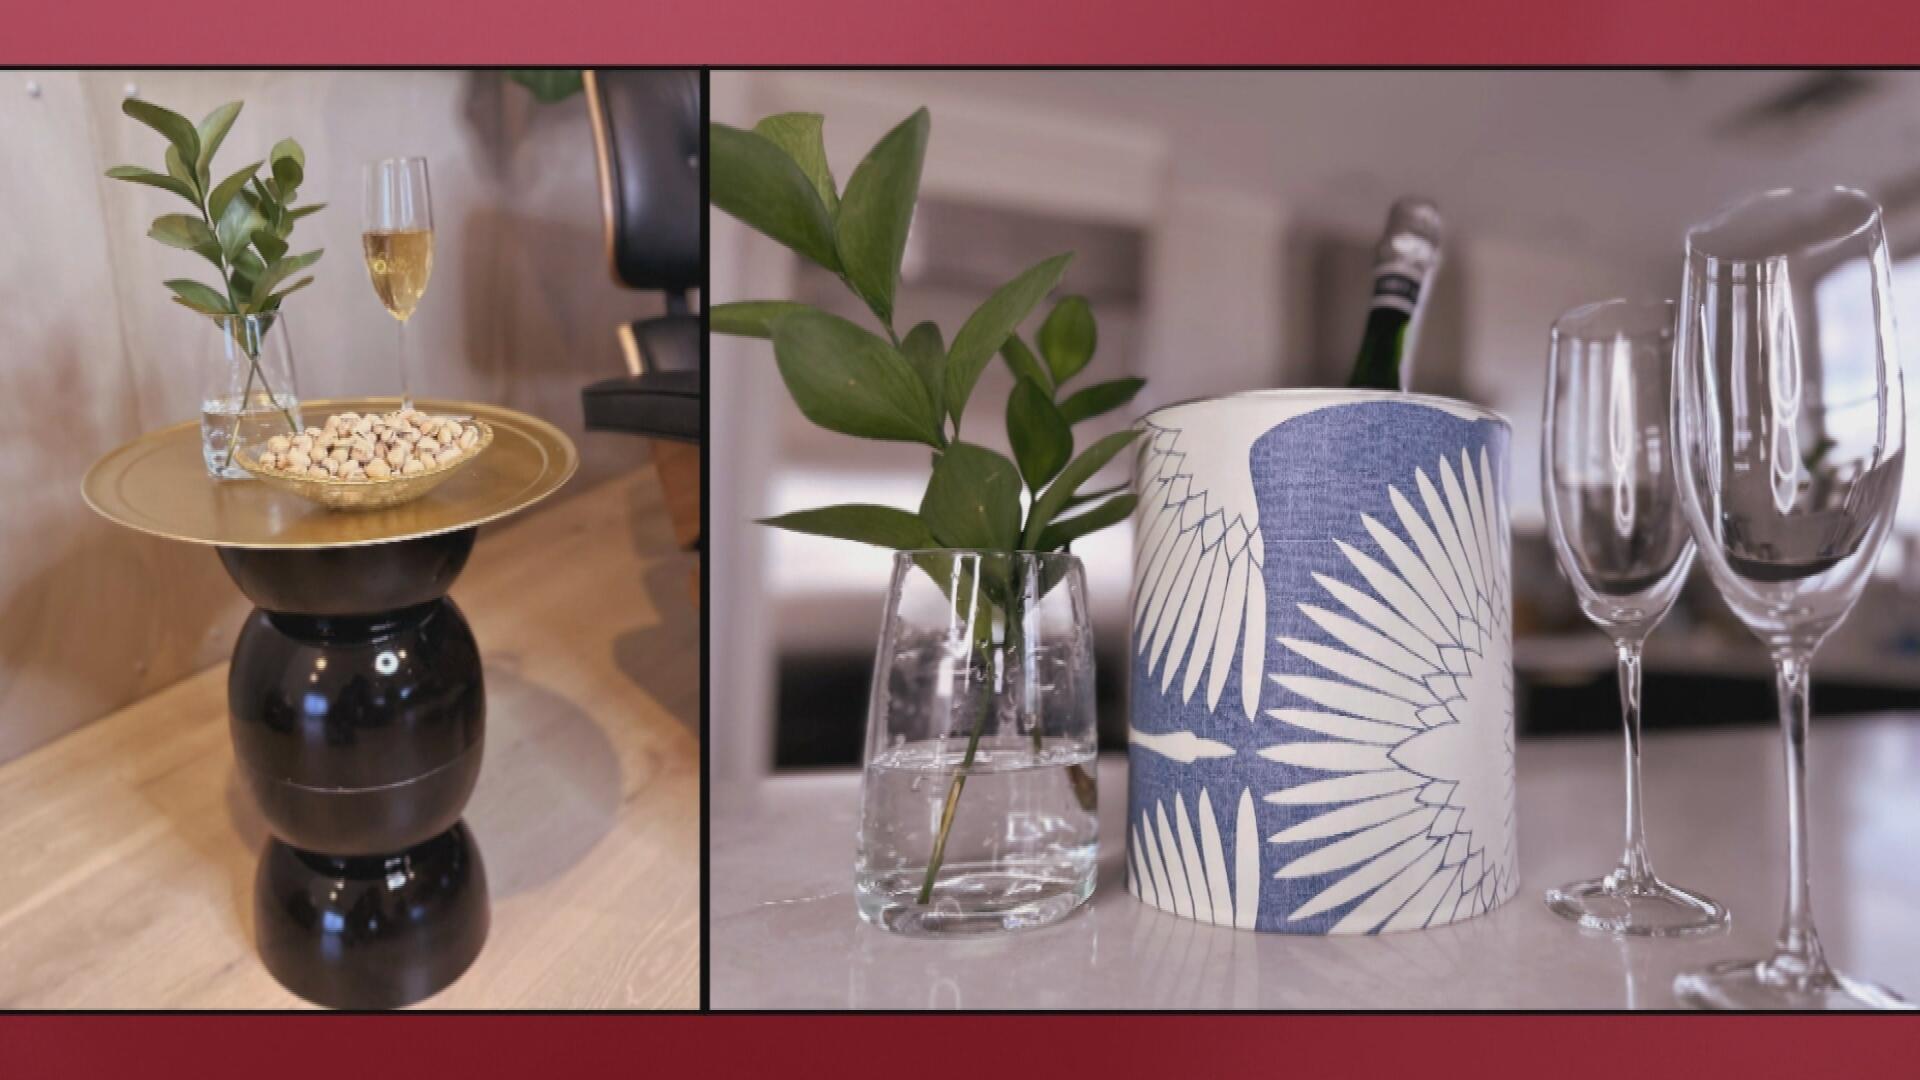


Looking to throw a party that feels special but don’t want to spend a ton of money on new home accents? Interior designer Taniya Nayak shows us how to create a fabulous ice bucket and chic side table by upcycling common items you probably have around your house.
Here are the supplies you’ll need and step-by-step instructions:
DIY Ice Bucket
Materials:
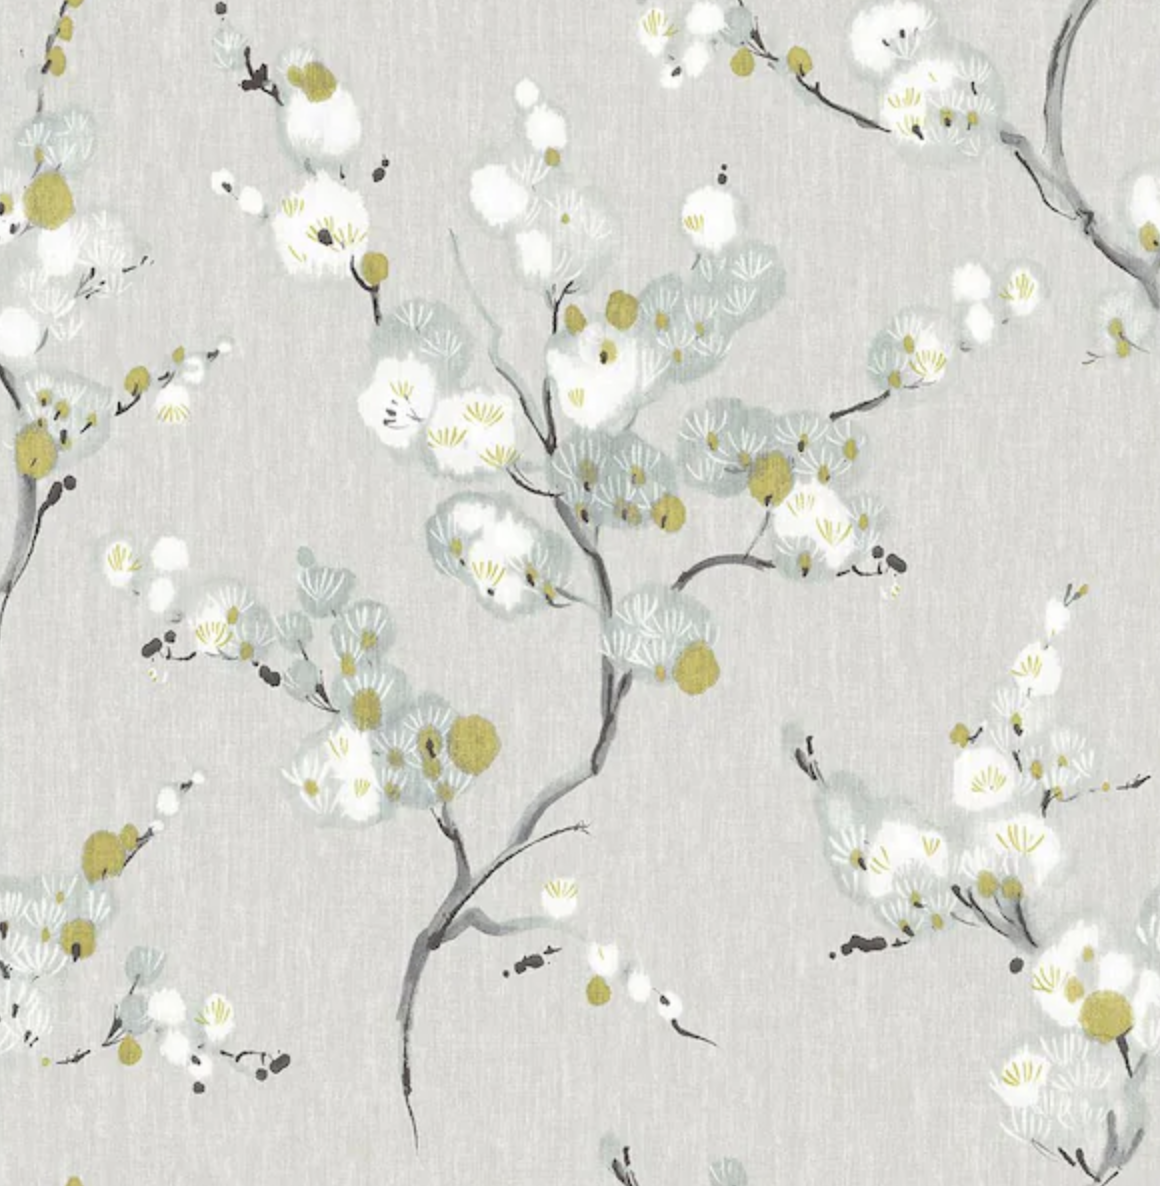
-Peel-and-Stick Wallpaper
-Empty Paint Can
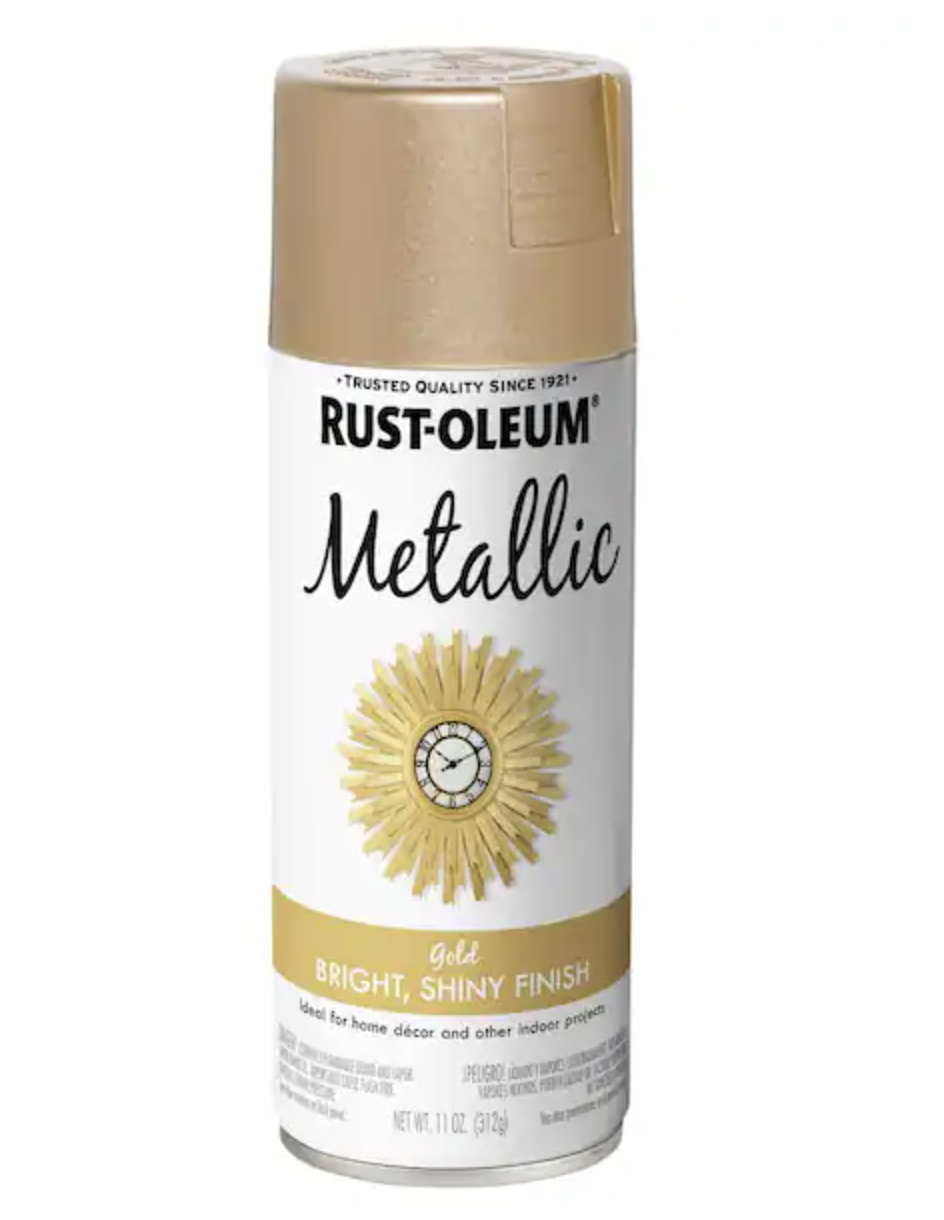
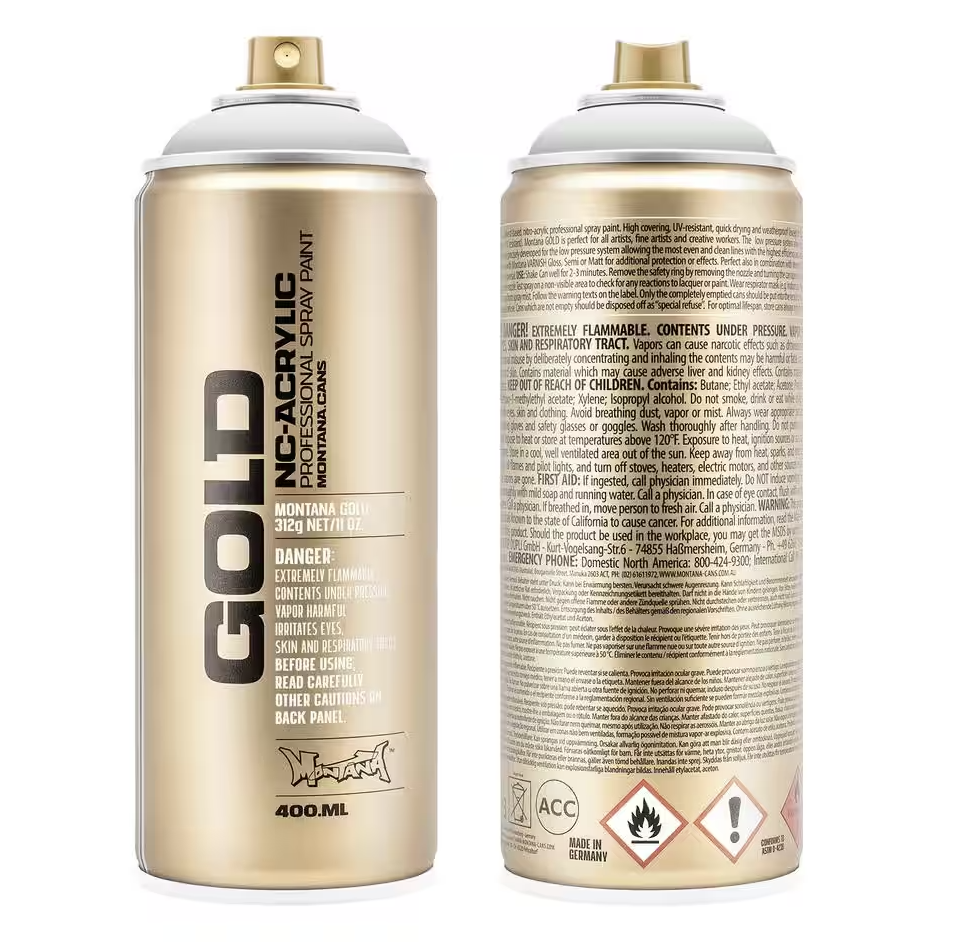
-Gold Spray Paint
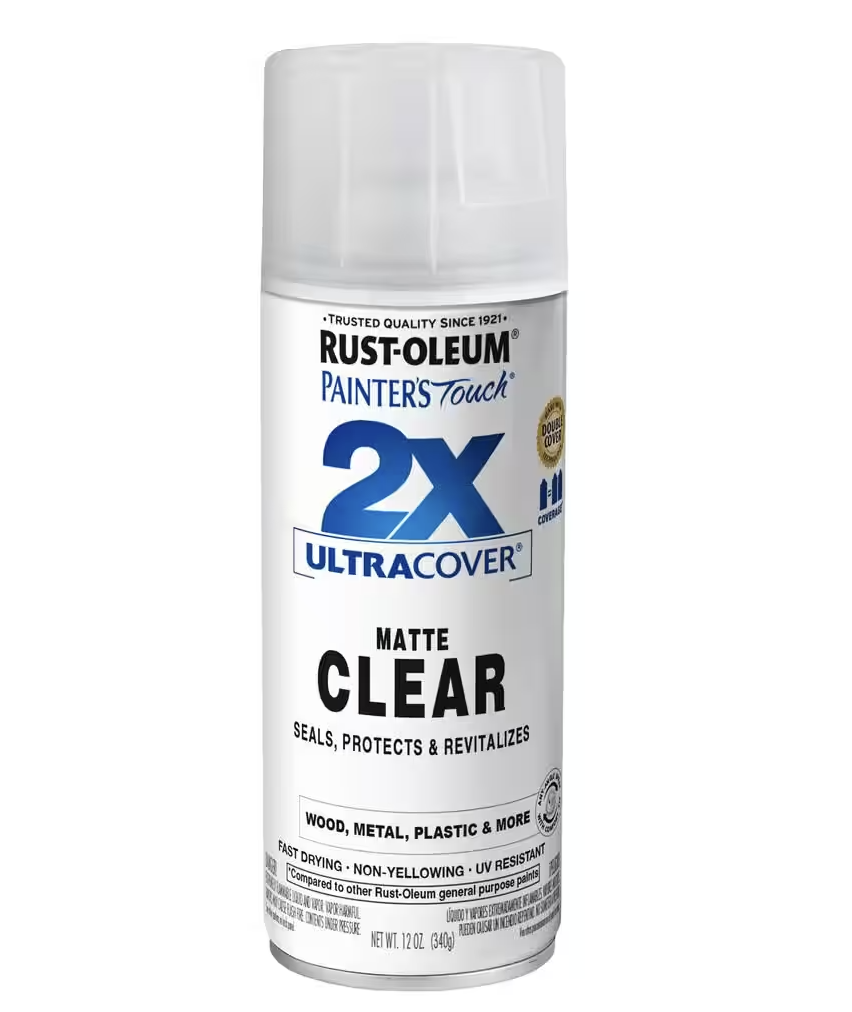
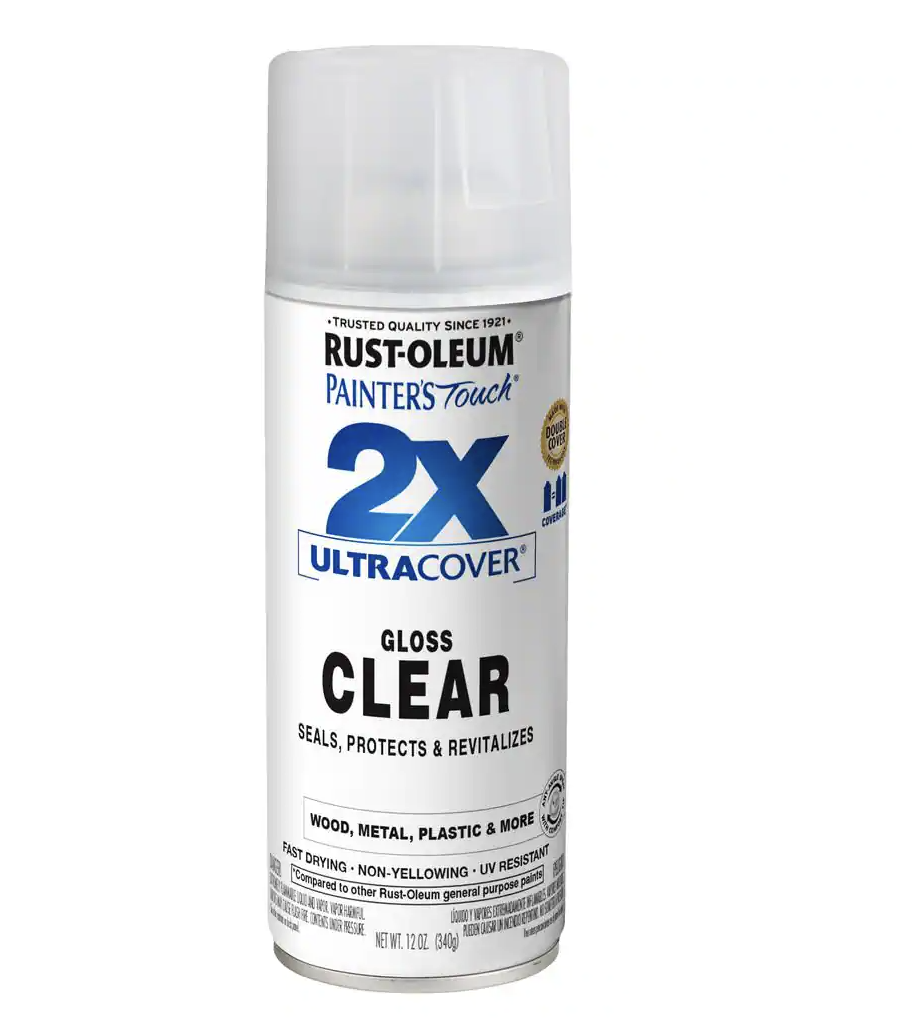
-Clear Finishing Spray
Steps:
1. First, clean out your paint bucket. Let it soak overnight and dry it out well, including the rim. Taniya says hot water and elbow grease are all you need to get it clean!
2. Spray-paint the bucket gold (or whatever color you choose!). Just try to get the top rim, handle, and where the handle connects to the bucket. The rest of the bucket will be covered by paper.
3. Let it dry!
4. Measure the height of your can and below the top and bottom rims. Cut a strip of paper that will fit halfway around. Standard paint can and paper are about 7.5″ tall and 10.5″ wide.
5. Cut notches for the paint can handle on each end of the paper.
6. Using peel-and-stick wallpaper, wrap the can with the paper (you can also use a little craft glue to help seal down the edges).
7. Spray the entire thing with a clear coat to protect it and allow it to dry.
8. Fill your DIY ice bucket with ice and chill your favorite drink!
Don’t have a paint can? “Pick one up from the craft store,” Taniya says.
DIY Side Table
Materials:
-Pizza Tray
-4 Large Acrylic or Plastic Bowls
-Clear Transparent Glue
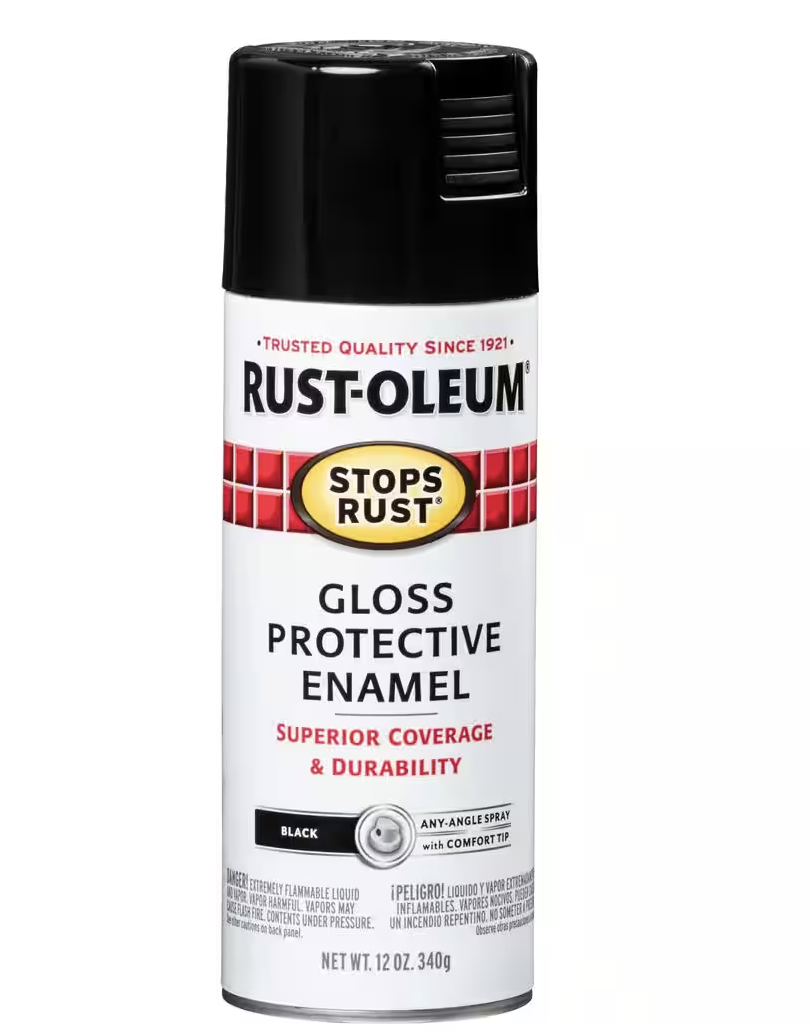
-Black Spray Paint Can
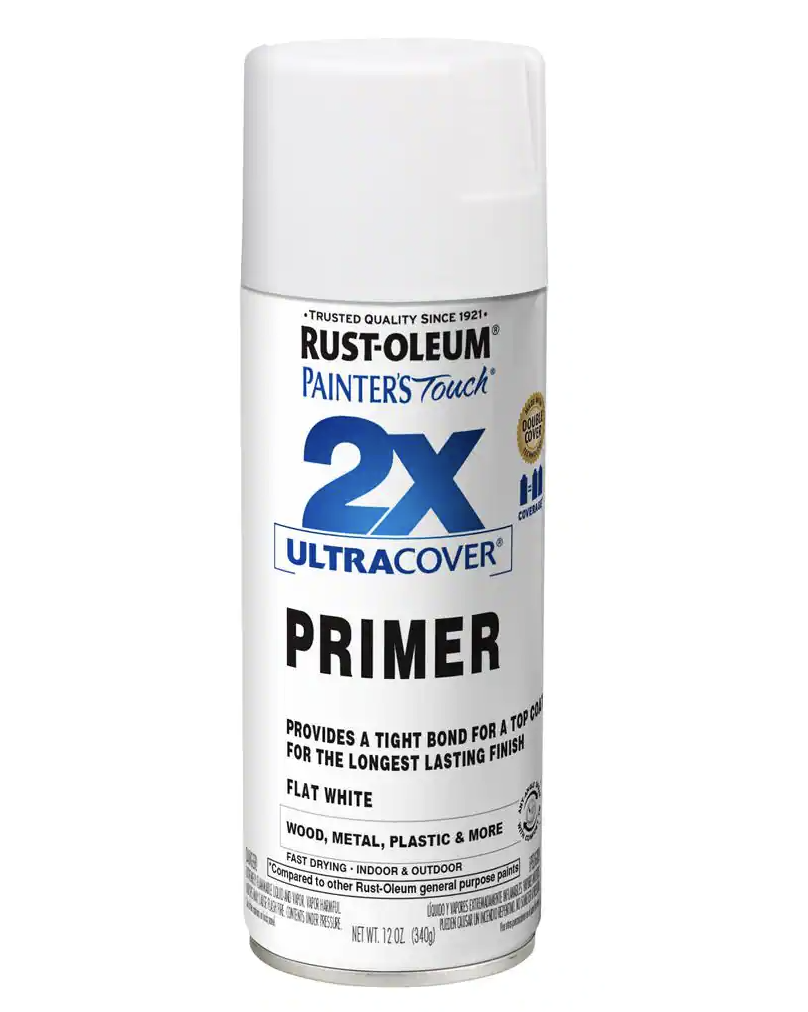
-White Spray Paint Primer
-Marbleizing Spray Paint
-Clear Gloss Spray Paint
Steps:
1. Place all four acrylic bowls face down onto a table.
2. Glue the bottoms of two of the bowls, allow glue to get slightly tacky.
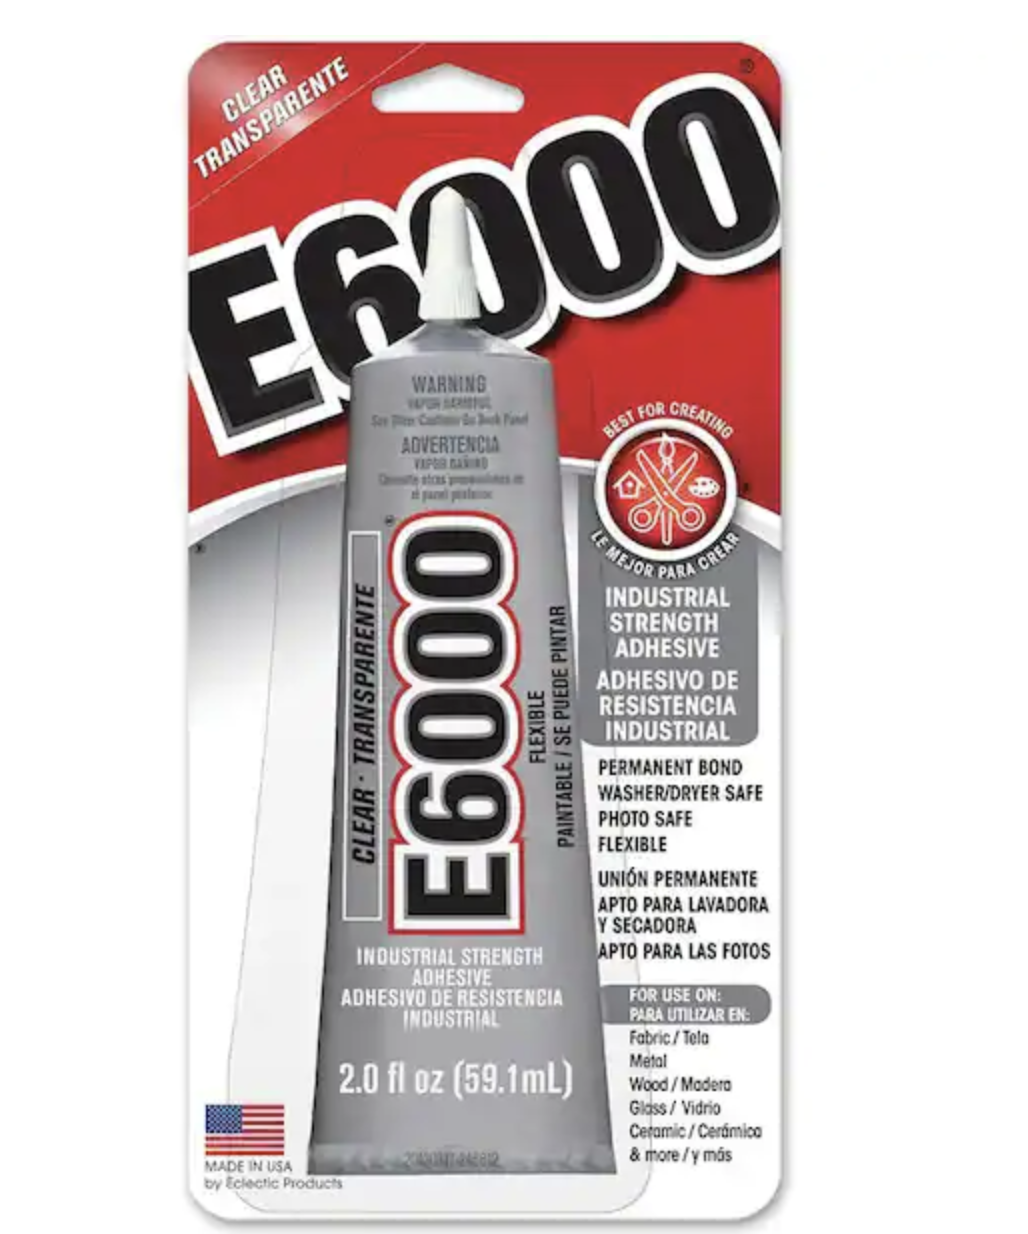
3. Stick both glue-lined bottoms together and set aside to dry.
4. Repeat steps 2 and 3 to the other two bowls.
5. Once both sets of bowls are dry, glue the rims of the top of the two bowl structures together to create the base of the side table.
6. Set aside and once dry, spray paint the bowl structure with your black spray paint.
7. While that dries, lay out your pizza tray on a safe surface and spray with white primer.
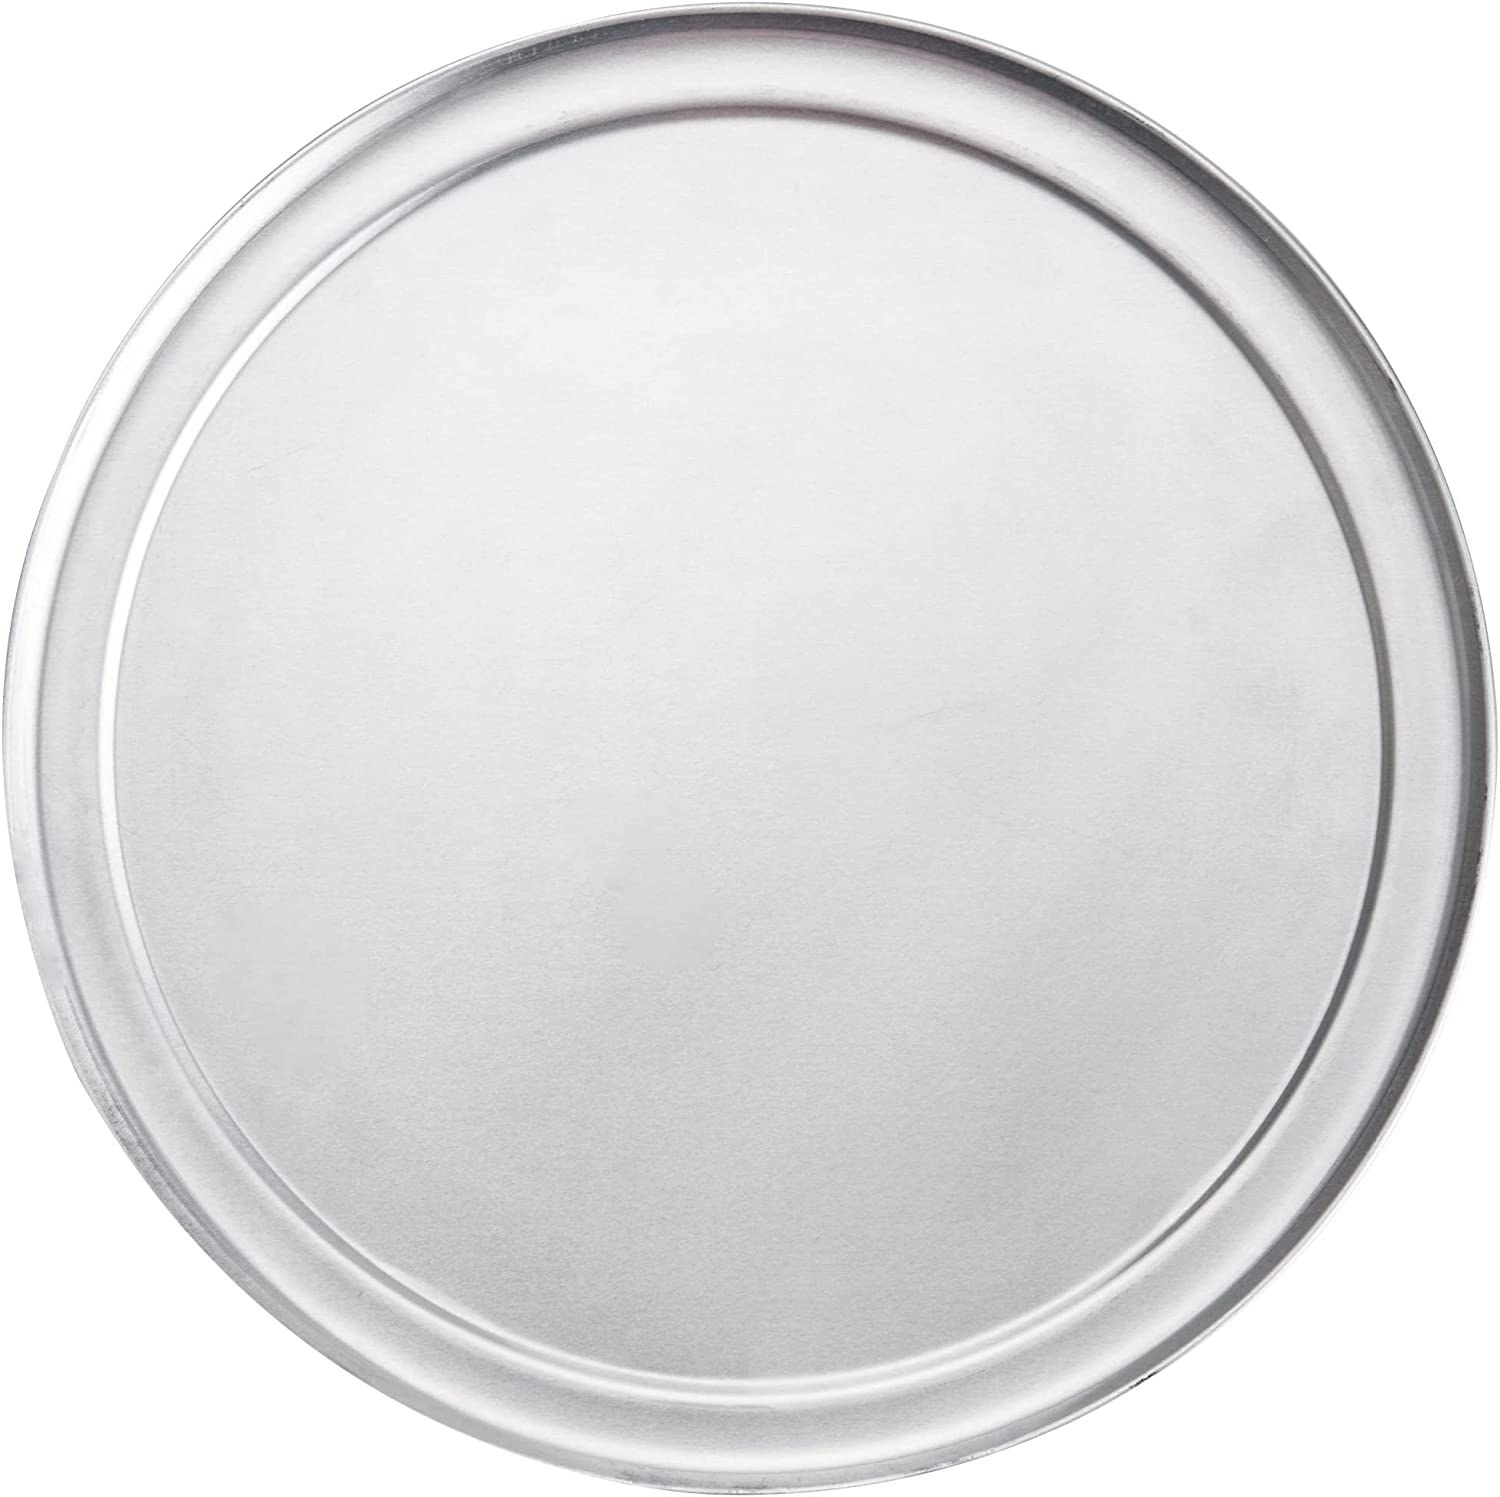
8. Once dry, spray your pizza tray with marbleizing spray paint.
9. Once dry, spray your pizza tray with clear gloss.
10. Once dry, glue your pizza tray to the top of your bowl structure to complete your side table.
Taniya says these tables are great for guests to put down their drinks or to serve bowls of snacks. (Speaking of which, you could serve cacio e pepe popcorn, spiced snack nuts OR onion pita chips.)